Since I have been working with a couple of people on creating better images. I think the biggest flaw that people have when using a DSLR is that they have no desire to learn and incorporate ISO speeds. Digital photography gives us much more flexibility within one camera than any film ever could have. Changing the ISO is the DSLR equivalent of changing film speed in a conventional camera! Now think of it like this, one change can be done from photo to photo with a DSLR. That couldn’t have been done EVER with a film camera.
This tells you how sensitive the film is to light, a higher number indicating more sensitivity to light. In digital photography ISO indicates how sensitive the image sensor is to light.
The following information is taken DIRECTLY from the Digital SLR Photo, Starter’s Guide…so don’t say you have an excuse for not knowing this information if you are reading this and you own a DSLR!
The most common ISOs are:
100, 200, 400, 800, 1600, 3200
Quick tip
The higher the ISO number = the higher the sensitivity to light
Moving from one ISO to the next value changes the exposure by half or double.
The ability to shoot in low light has a trade-off in the form of grain or noise. In digital cameras it’s not the grain of the film that becomes visible at higher sensitivities, but digital noise – the visual equivalent to the hiss you hear when you turn a hi-fi amp up to full volume when nothing is playing.
100 ISO will give you sharp images while 3200 will show quite a lot of noise.
The higher the ISO number = the more noise/grain
The rule of thumb is to select the lowest ISO you can get away with that will allow you to take a picture at a fast enough shutter speed and/or larger aperture.
A football match outdoors on a bright day: at ISO 200 you should be able to shoot at 1/250 or faster to freeze action.
Concerts and gigs: always a tough one especially at smaller venues where there’s little lighting and the subject is moving. Best bet is to start at 3200, do a few test shots and then lower the ISO to the lowest you can take successful shots.
Churches and galleries: 1600 might be the minimum ISO you can get away with to shoot at 1/60.
Top tip 1: faced with the choice of introducing more noise and a fast enough shutter speed, go with the shutter speed. You can live with noise and make attempts to reduce it with software but you can’t do much with a blurred shot other than bin it.
Top tip 2: purposely use a high ISO for a grainy effect and give mood to a scene. This might be harder to do than you think as camera manufacturers are continuously reducing (“improving”) the noise from ISO settings to the point where you might need to add it in post-production.
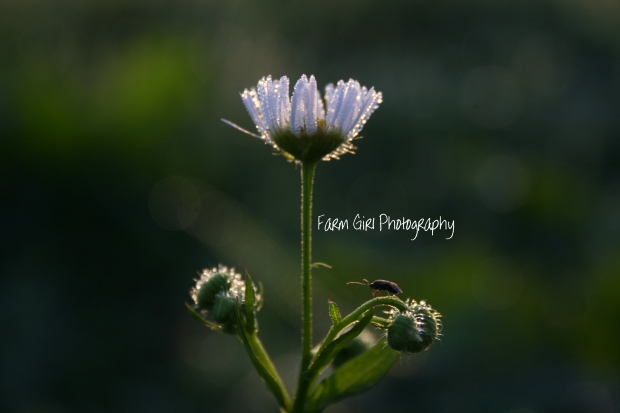
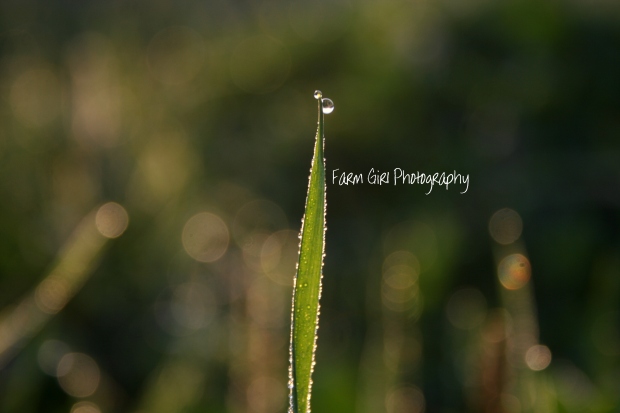
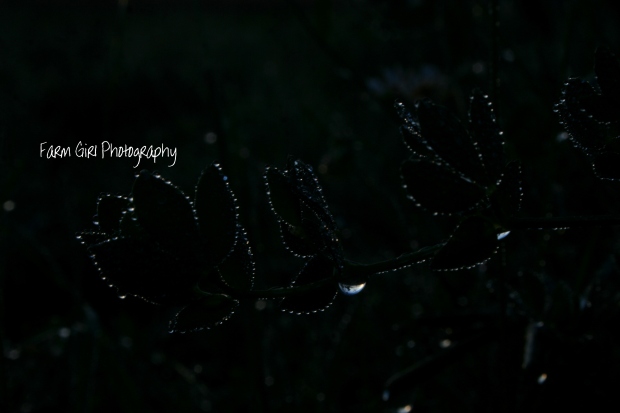
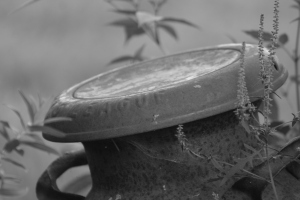
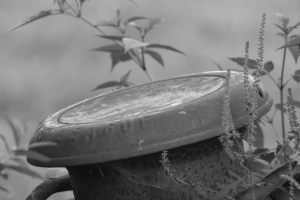
Here are images, taken at the same shutter speed, of the same object, but at different ISO speeds. Shutter speed (Or exposure time for the Novice Photographers was set to 1/160 sec on the TV mode). As you can see, the images are “brighter” due to the increased amount of “light” let into the camera. Not one of these images uses a flash and all were taken on the same parameters for Black and White Photography, just to show the differences.

ISO-200
ISO-400
ISO-800
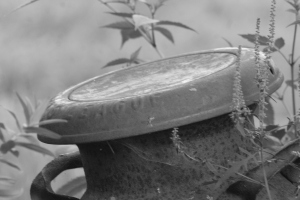
ISO-1600
These are just FOUR of the many ISO settings available on my camera! If you are willing to learn ISO differences, this is one of the most important tools you can use to capture those special moments in EVERY different lighting situation!
GET OUT THERE! CAPTURE LOTS OF NEW IMAGES AND CHANGE THOSE ISO SETTINGS! Your photography will thank you for it!!!!!